Setup WAMP on local – The Step by Step Guide
Setting up a local development environment is essential for web developers and designers. One popular choice for creating a local server environment is WampServer, which stands for Windows, Apache, MySQL, and PHP. In this guide, we’ll walk you through the process of installing WampServer on your Windows machine
Wamp Server is a free package and open source tools for windows, provide you to install and web browers of application that use (Apache,PHP and MYSQL). WAMP stands for (W) Windows, (A) Apache, (M) MySQL, (P) PHP. we are configured the WAMP server in your local system, WAMP server easily work with PHP framework like (WordPress, Joomla, drupal, Codeigneter, Cakephp etc) by developers to test the websites.
Download ARCHIVE WAMP Server or Old Version
If You want to download another Server for Local Like Xampp, Vertrigo
Requirement for WAMP Server
You must have Microsoft Visual C++ Redistributable packages installed in your system for latest Version of Wamp.
- Microsoft Visual C++ 2008 Redistributable Package (x64)
- Microsoft Visual C++ 2010 Redistributable Package (x64)
- Visual C++ Redistributable for Visual Studio 2012 Update 4
- Visual C++ Redistributable Packages for Visual Studio 2013
- Visual C++ Redistributable for Visual Studio 2015
1- Go to the official WampServer website and download the Wamp server 32bit or 64bit.
2- Run the downloaded Wamp server.exe setup.
3- Select the location, if need to set other than the default.
4- Follow the instructions and install the setup.
5- Click on the system tray Wamp server icon and test the webserver.
Installation Process of WAMP Server
Download WampServer:
- Visit the official WampServer website (https://www.wampserver.com/en/) and navigate to the Downloads section.
- Choose the version that matches your system architecture (32-bit or 64-bit). If you’re unsure, you can check your system properties to find out.
- Click the download link and save the installer file to your computer.
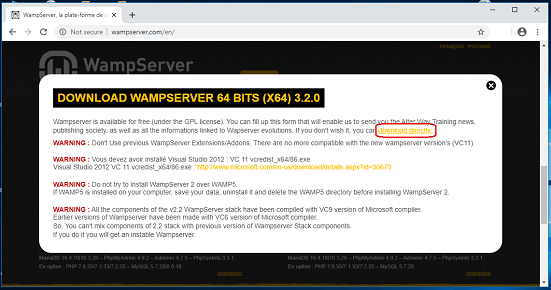
Step-1 Download Offical Wamp Server Website in Your Web Browers.

Step- 2
Now, click on the “download directly” link to start downloading.
Step-3
Double-click the downloaded file to launch the WAMP installer.

Step- 4
Choose Your preferred Setup Language Show on the Window screen

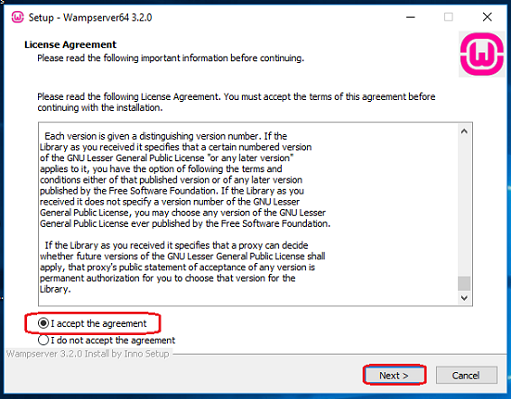
Step-5
I accept the agreement” radio button and then click on the “Next” button.
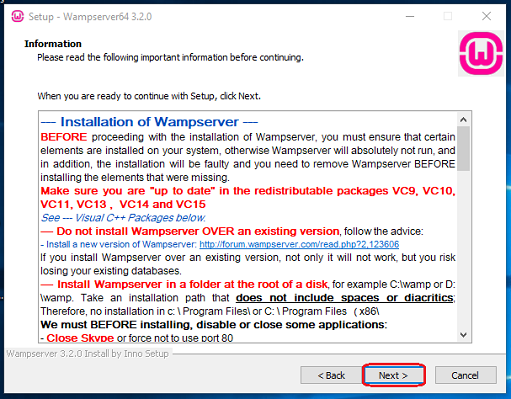
Step-6
Information” setup ensures that the required prerequisites are installed on your system for the Wamp Server to function correctly and Click on the “Next” button.
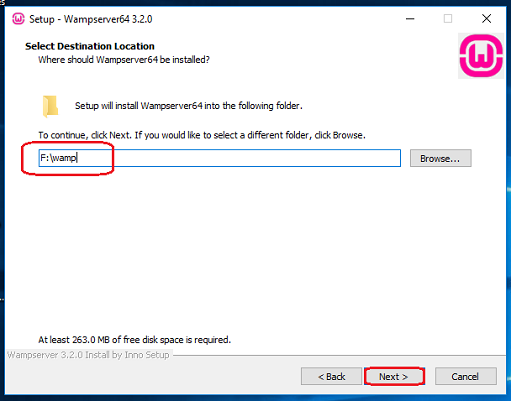
Step-7
Choose a location (folder) to install the WAMP server and click on the “Next” button.
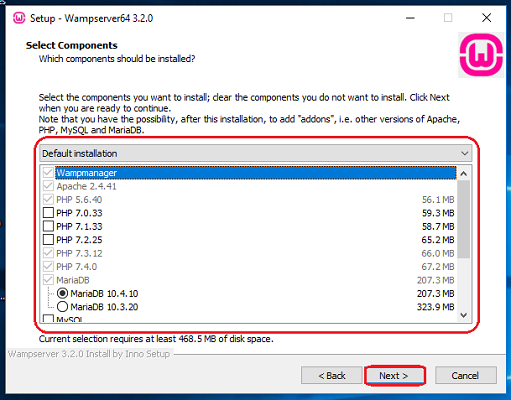
Step- 8
Click on the “Next” button.
Step-9
Select the start menu folder.
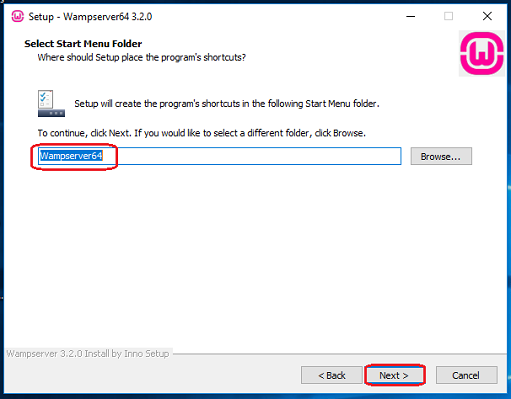
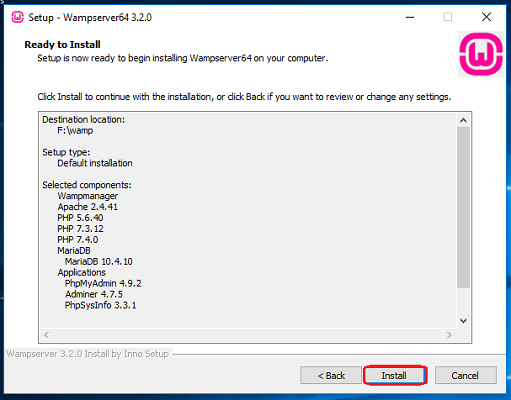
Step-10
“Ready to Install” window will appear on the screen and then, click on the “Next” button.
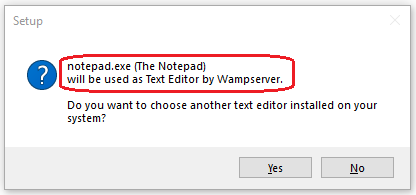
Step-11
Now, select the default browser and default text editor for the wamp server.
Step-12
Click on the “Finish” button.
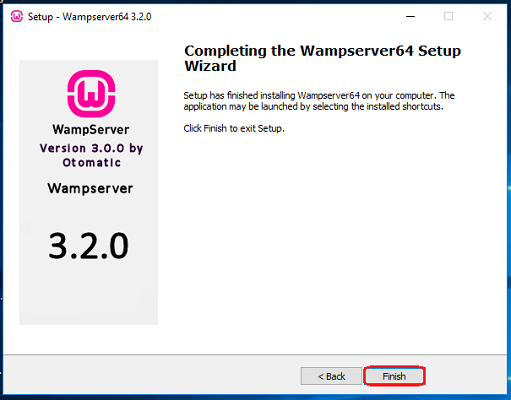
Step-13
After that You start the Wamp Server its Shortcut on the desktop.
Show in green your taskbar like this..

IF FACES SOME PROBLE
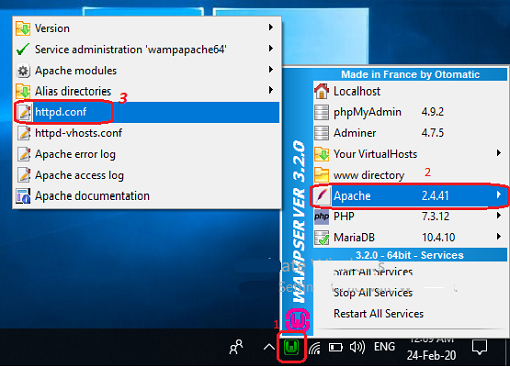
Sometime faces some problem like not working Wamp server look like Orange or Red However, depending on the setup configuration or usage of your system then change the port number of Apache and Mysql Such as ..

Open the WAMP Server in Apache Module Service, click on the “httpd.Conf” button.
Find the “Listen 80” and replace it with another open port (like 81 or 8080) and save the file.
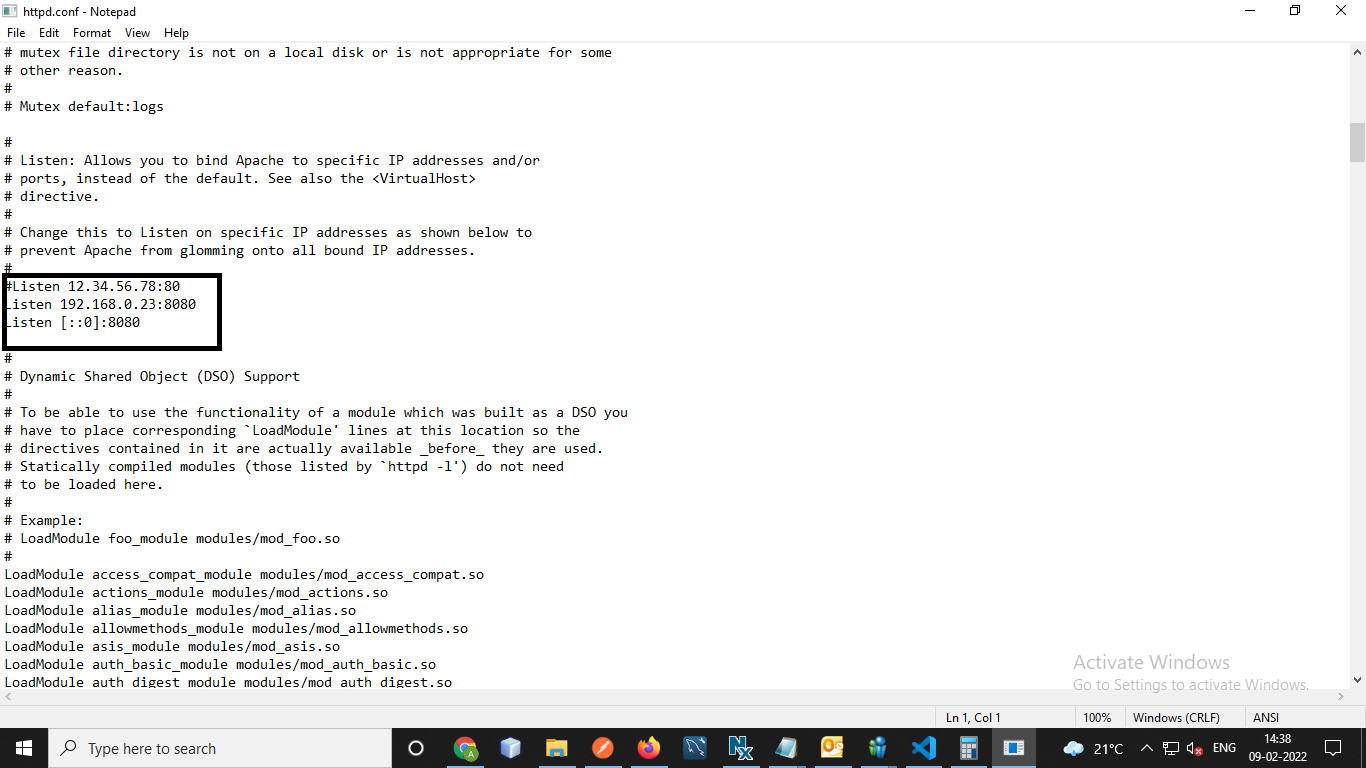
Restart the WAMP Server by clicking on the “Restart All Services” option.
Now, open and check the “WAMPP Server” and also check the localhost and phpmyadmin.
Show Green icon